
WordPress is changing its editor permanently and I know that invokes a gut reaction of no thank you! in a lot of people, but really, the blocks editor is great, imo. So I’m going to try convert you to my way of thinking (and also help you out some because it is not easy and definitely frustrating to use at first).
All of your posts will automatically convert to blocks on 1st June, but I would recommend first going through a few to convert manually, to check that the formatting doesn’t somehow get messed up. It does happen, and it’s nicer to know beforehand than to be suddenly hit with it.
But anyway. Some tips and tricks, to make your post-blocks permanency a little bit easier!

First of all, this is your basic layout when you open up a new post.

I’ve highlighted only three things at the moment, but they are the important ones. Top left is the block navigation. This, pretty self-explanatorily, helps you navigate the blocks and tells you what order they come in (it’s not necessarily useful until you have something like an image side-by-side with text). It also helps you select the block, should you be unable to in the post for whatever reason.
In the top right corner, the cog symbol takes you to post settings, where you can tag/categorise/schedule your post. This is the same as in classic editor (thankfully), but should the sidebar disappear for any reason, that’s where you find it.
Finally, the plus symbol I’ve circled lets you add blocks. If you hit enter on a page, the default block is going to be a paragraph but clicking that plus will let you change it (equally, the blue plus in the top left corner — this one is actually better if you want to see the whole range of blocks you can add. The black button is better if you have blocks you use often because it’ll show most common first, although there is a search function).
So. The blocks. I’ll walk you through a few of the ones you’re going to want to use most (images, paragraphs, etc) and highlight how you format things.
Paragraphs
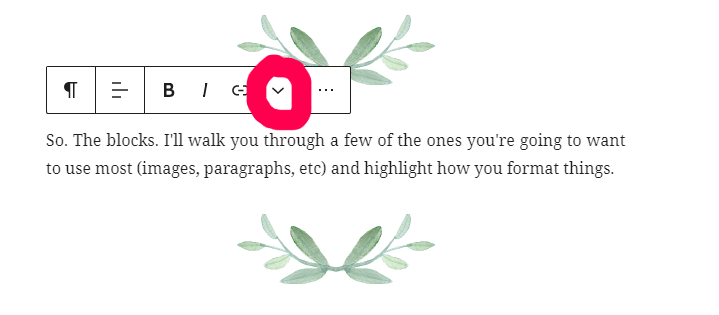
Step one is this little down arrow. At first, it may seem as though you have limited formatting options (alignment, bold, italic, hyperlink), but if you click the arrow, you get options of inline code/image, justify, strikethrough, subscript, superscript, text colour, underline, and uppercase. By selecting the block you’re working on too, the righthand sidebar should also be showing block settings, including typography, which lets you change the text size and line height.
Headings

Headings are pretty similar to paragraphs to be honest. The only difference is that you don’t get the option to justify them, and you have the added option to change the size. Clicking where it says H2 gives you only three options, but if you scroll down the right sidebar, there are more.
It is also a lot easier to do HTML anchors with blocks. If you scroll right to the bottom of the settings sidebar, you will see a section labeled advanced.
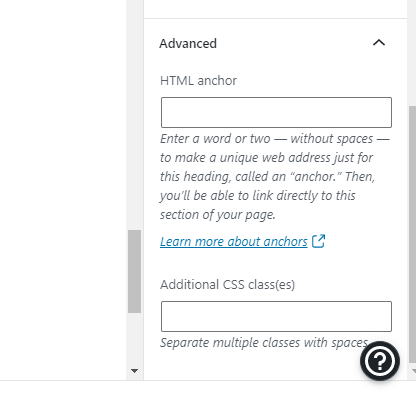
Enter a word to refer to the header (e.g. paragraph), then go find where you want to anchor this to and add a link (e.g. #paragraph). I used this in my Fire Emblem rec list so you can see how it works there.
Images
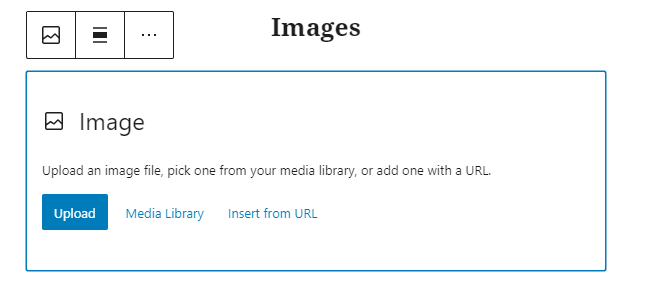
If you choose to enter an image block, this is what you will see. You can only enter single images using this block (if you want to enter more, select gallery — see below). What I like here about blocks over classic is that you can insert from a url straight into the post instead of having to go through the media library (that option is still available though). There’s not a whole lot you can do with this block. Alignment is that strange black square thing floating above the block, and if you want to edit size or dimensions, that’s in the sidebar again (note that when you edit height or width manually, you do need to calculate what the correct width or height is, because it’ll stretch the image rather than keep the ratio the same).
Also if you hit replace (which shows up when you have an image in the block, next to alignment), you can just swap images and keep the same dimensions.

Gallery looks much like images, except you have to insert pictures through the media library. I have to admit to not using this one so much, but you can add as many pictures as you want and organise into columns (in the right sidebar). Just to note: the fewer images you have, the bigger the actual images, as opposed to the space in between them, like with classic.
Lists, quotes, and read more
These are all fairly simple blocks. Read more comes under the title “more” (not page break or anything like that). Lists are under “list”. And quotes, you can either use “quote”, “pullquote”, or “verse”.

Pretty obviously, you can switch between ordered and unordered lists, and change the indentation of each entry. Once again, though, you can’t justify the text in the lists.
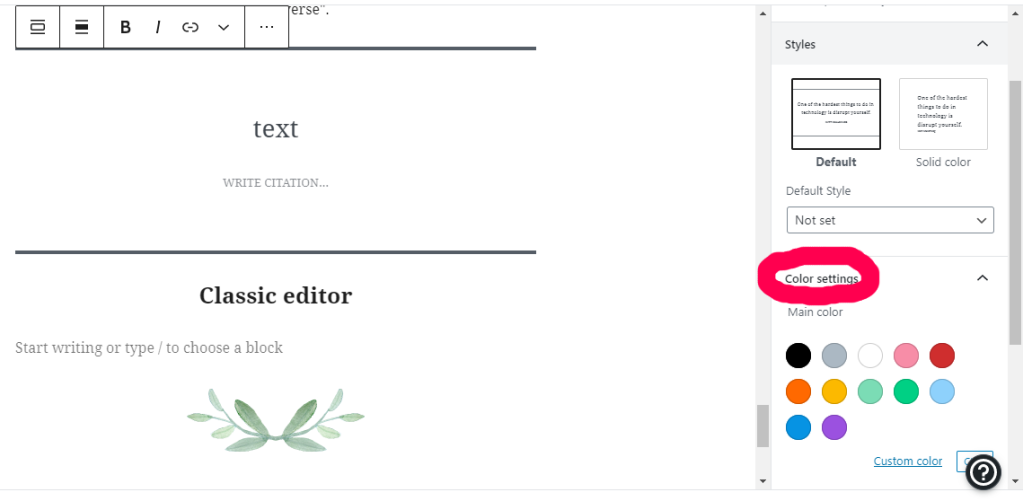
Of the quotes, pullquote is probably my favourite, because you can change the colours of the lines above and below the text, as well as the text.


You can always see what the block looks like on your blog with a preview and then change the style if you want though (see next section on tips).
Classic editor
Obviously, if you want to reject the truth (that blocks is better) and return to classic editor, you can. Just add a classic editor block and write your whole post out in that. I think it may have less flexibility than the classic editor itself did though.
Now for the fun part though! There are lots of blocks you can play around with (particularly embed ones), but my favourite is probably stars.

You can do so much with stars (including half stars! — just double click on the star. Goodreads wishes it were this good). You can have the stars filled or outlined, decide how many stars you want to rate out of, and change the colour of them.
See, I told you blocks was good.
You can also switch between blocks easily. Whenever you insert one it tells you what it is with an icon (in the above image it’s that star next to the alignment). If you click that, you open up a bunch of options that you can change the block to. For something like a paragraph, you can change to a quote or heading, for example. There is a limit on the changes you can make though (annoyingly, I don’t think you can change an image block to a gallery or vice versa).
Right next to that icon when you move your mouse over it, will appear two arrows, which you can use to adjust where you want your block to appear (moving it up and down the page). This is especially useful if you want a lot of the same block because you can duplicate the block and move the copies around.
You can duplicate either using ctrl+shift+D (not sure what the Mac command is), or by clicking on more options (to the right of the down arrow in your little menu when you select the block).
One more useful keyboard shortcut: alt+shift+Z (again not sure on the Mac command). This will delete entire blocks (since the delete key only works on some).
I hope this post (although long) is helpful!
If I’ve missed off anything glaring, or you want more clarification, just drop me a comment.

omg this is very helpful, thank you!! i’ve been navigating blocks pretty decently but did learn some new things AND had no idea about the stars???? i am SO excited about the stars.
LikeLiked by 1 person
STARS ARE SO GOOD i love them, and did you know you can do BUTTONS too instead of boring old links
LikeLiked by 1 person
NO, WHAT, omg i love this
LikeLiked by 1 person
blocks >>>> classic for this reason and this reason alone
LikeLiked by 1 person
Oh gosh this post was a rollercoaster. I was like “What! I just got here! I just learned how to post! I can’t learn a new way already!” and then I realized this IS the way I learned, and it’s Classic Editor that I don’t know haha. and then i realized that this post still taught me new things! Stars?! What?! I need to figure those out!
LikeLiked by 1 person
stars are so cool!!! the best thing about blocks tbh
LikeLike
Omg this is a blessing, thank you so much for writing it!! I gave up trying blocks a while ago when they were first introduced as an option and I was sad about having to change permanently in June but I’m going to use this guide as a reference. Also!!! Stars!!!! Half stars!!!!!!!! What! That’s the only thing that makes me actually excited to try it!
LikeLiked by 1 person
blocks is great!! the stars are my key to getting everyone to realise this, obviously
LikeLiked by 1 person
Found this through Sarah’s blog, and I can’t say that I’m having an easy time with this! How do I make the calendar show me on what days I already have posts scheduled, as was the case before? And with existing posts, I change the block layout back to justified (seems to have gotten lost in the transition) and it just won’t do anything. Seems like a bug to me, but what do I know, but it’s definitely frustrating!
LikeLiked by 1 person
re. justify, i know that once or twice for me it’s not shown up as such in the post, but does show on the blog, but i thought they had fixed that. re. calendar, i’ve never known it to show when i have things scheduled, so that might just be something blocks doesn’t do?
sorry i couldn’t help more
LikeLike
I’ve been using the block editor since i started blogging, and I really like it. I only recently discovered the stars block, and it is amazing 💜 If only goodreads….
Anyways, this was a great post, and I totally agree that the block editor is amazing!!
LikeLiked by 1 person
same! i think they must have added that fairly recently, when they expanded the blocks features, because there’s a lot more embedding blocks & other things too
LikeLiked by 1 person
Yeah. It’s so helpful though!!!
LikeLiked by 1 person
Thank you so much for this helpful post, Charlotte! I’ve been scared of using block editor since I have no idea what they are and how to use them, but when I come across your post I learned something from it and decided to give it a try, to see which works for me and which doesn’t.
And the stars! The stars! That’s awesome and a good move from WordPress to include that in the editor. But I do all of my blogging mainly on phone and it’s pretty limiting to write posts on phone. Plus not all options and tools on the website version are there on mobile app version, so I’m sad that I can’t find the stars tool on the editor app one.
But thank you again, Charlotte! I’m gonna save this post for future reference 💚
LikeLiked by 1 person
i’m glad it’s helpful!
LikeLiked by 1 person
Bookmarked this post for possible… use… in the future. 👀
LikeLike
your glorious return to blogging? 👀👀👀👀
LikeLiked by 1 person
Mayhaps? 👀
LikeLiked by 1 person
this is very exciting!!
LikeLiked by 1 person
This was such a helpful post! In this past wrap-up my co-blogger and I put out a cry for help with block editor, and this post was exactly what we needed! I’ll definitely be sharing this so that others can benefit from this post as well.
Now that I’ve used the block editor a bit more it became slightly easier, but there were still so many function that I did not know about, until I read this post!
LikeLiked by 1 person
i’m glad it’s useful!!
LikeLiked by 1 person